Most people wash their car, let it air dry, and call it done. Then they walk past it the next morning and somehow it still looks tired, dull, and a little sad no matter how much water they throw at it. The thing is, washing and detailing are two entirely different conversations. A wash removes surface dirt. Detailing is what actually restores a vehicle, brings the paint back to life, refreshes the interior completely, and builds the kind of protection that makes the car look genuinely sharp week after week.
The good news is that doing all of this at home has never been more achievable. Professional-grade car care products that were once exclusive to detail shops are now sitting right on the shelf at your local auto parts store or one click away online. And the process itself, once you understand the right order and the right techniques, becomes one of those satisfying weekend rituals that you actually look forward to. This DIY car detailing guide covers everything from the first rinse to the final glass wipe, written for real people who want real results in their own driveways.
How to Prepare Your Vehicle for a Smooth DIY Detail
Preparation is the part that most people skip, and it is also the part that professional car detailers treat as seriously as the detailing itself. The order you work in and the environment you work in have a direct impact on how clean and scratch-free your results turn out. Starting from the top of the vehicle and working your way downward, then finishing the full exterior before ever opening a door to start on the interior, gives the entire session a logical flow where each step sets up the next one cleanly.
Location matters more than most people realize. Working in direct sunlight causes soap and water to dry on the surface faster than you can work through it, which leads to streaking and mineral deposits that create more work. A shaded driveway, an open garage, or even a spot under a large tree gives you the kind of stable environment where products perform the way they are supposed to and your results hold up.
Essential Car Detailing Supplies for Your At-Home Kit
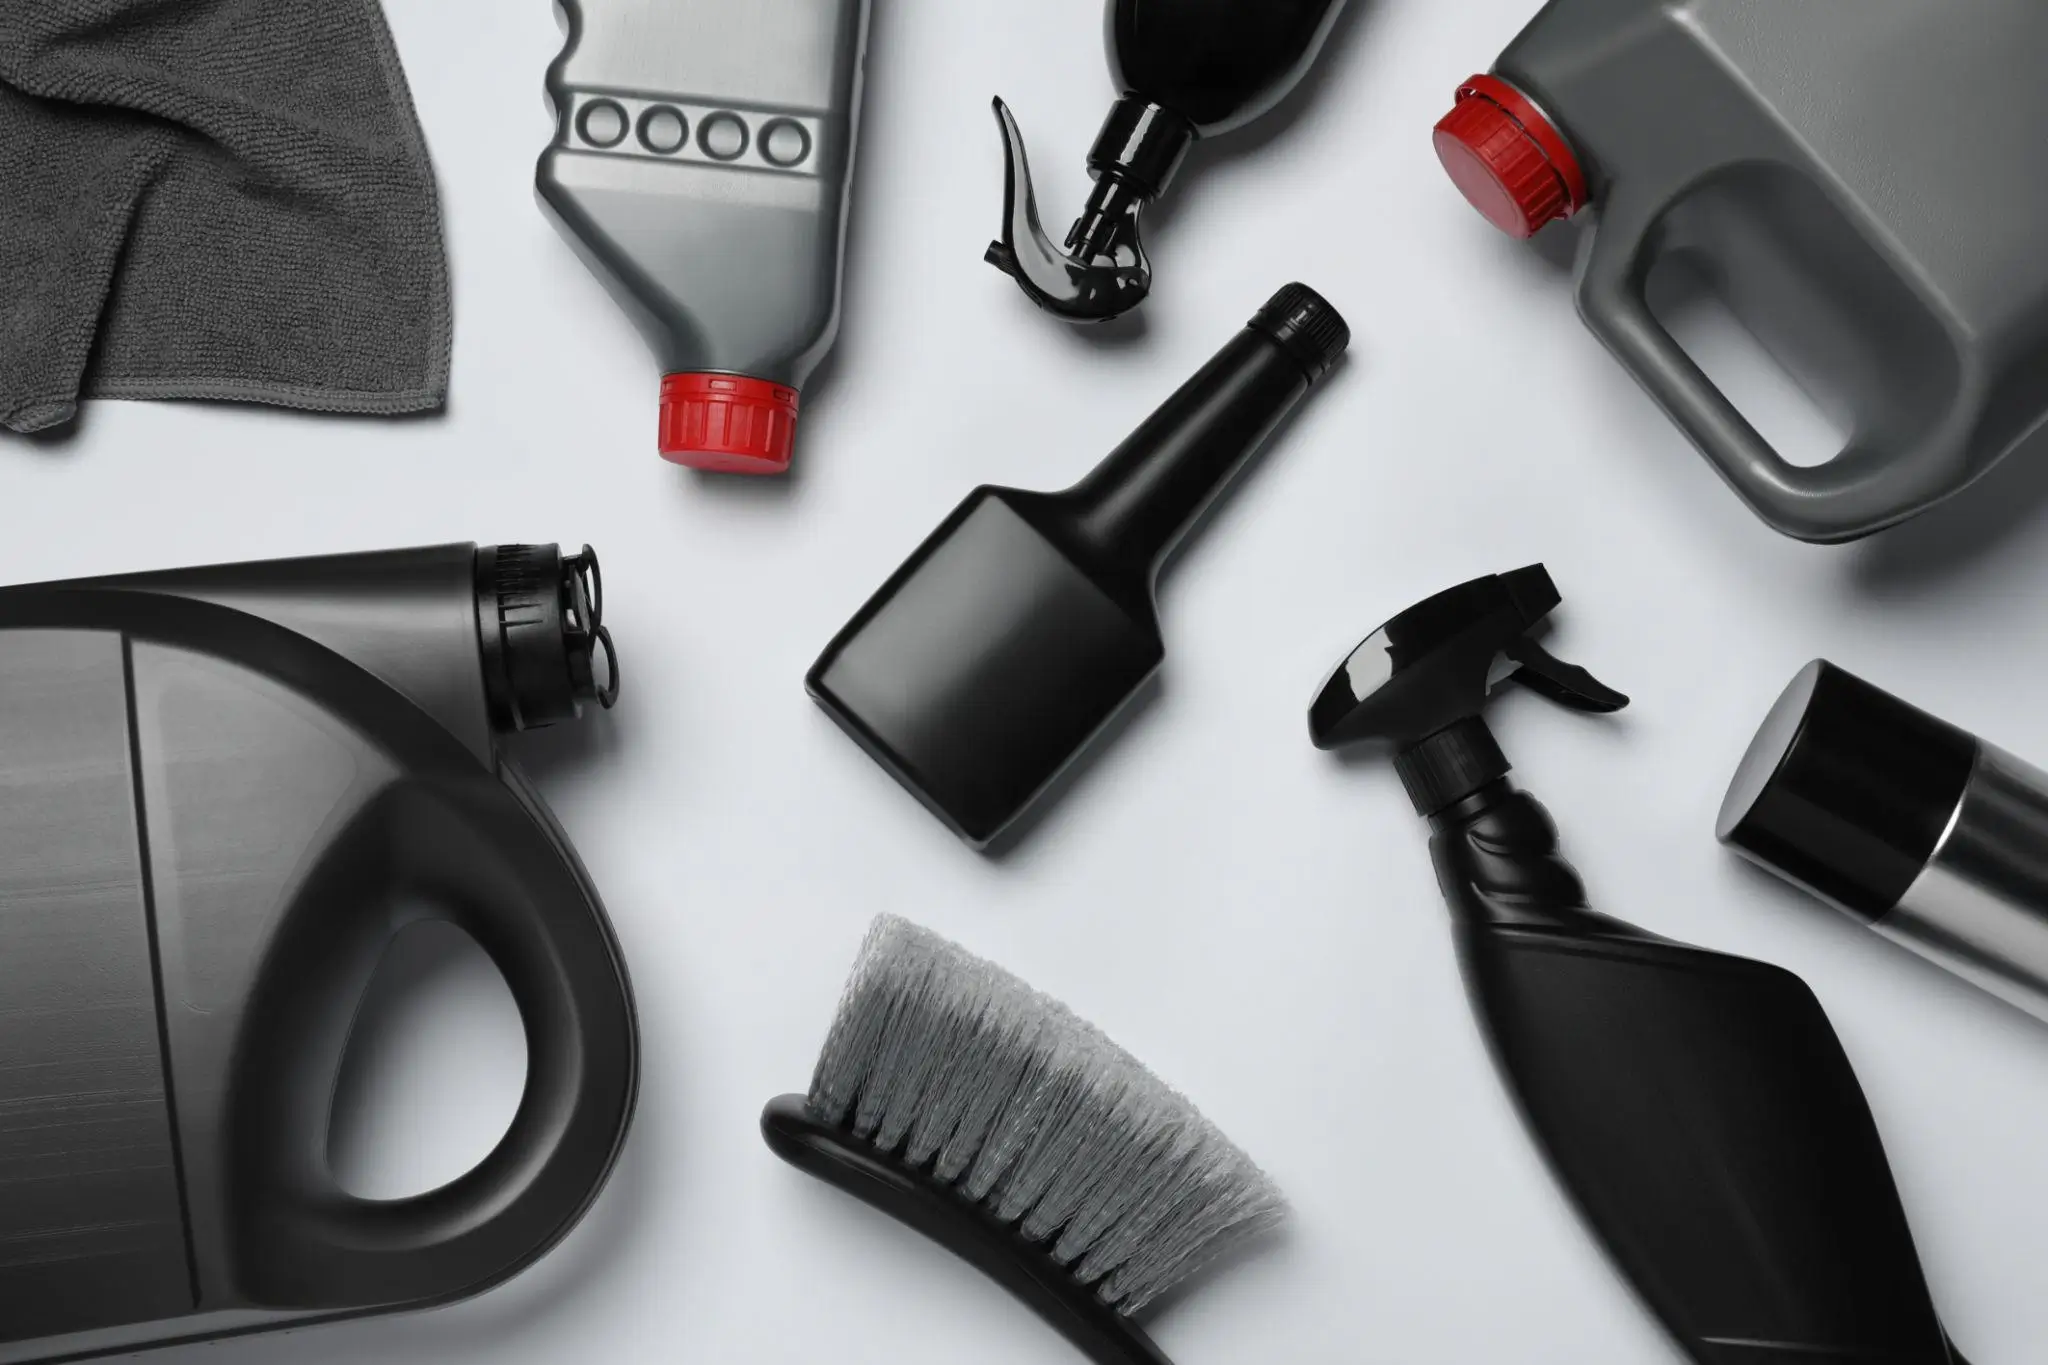
The right tools genuinely change what you are able to achieve. A strong starting kit includes two wash buckets fitted with grit guards at the bottom, a quality wash mitt, multiple microfiber towels in different grades for drying and buffing, a foam cannon that attaches to your garden hose, a clay bar kit, a set of soft-bristle detailing brushes, and a firm tire brush. On the product side, you want a dedicated car wash soap, a clay lubricant spray, a paint polish or compound, a finishing wax or paint sealant, and a good interior all-purpose cleaner.
Microfiber towels are worth stocking generously because they do something ordinary cloths cannot do well. Their structure captures and holds contaminants rather than spreading them across the surface, which means far fewer fine marks on the paint and a noticeably more refined finish every single time you use them.
How to Guide Your Exterior Car Detail from Start to Finish
The exterior is where the most dramatic results happen and where technique makes the biggest visible difference. Moving through each stage with intention, from the initial rinse right through to the protective finish coat, builds a result that catches light beautifully and holds up through regular driving and weather.
Starting With a Pre-Rinse and Foam Application
A strong initial rinse with a hose or pressure washer removes the heavy surface dirt before any physical contact happens. This matters because dragging even small trapped particles across paint with a wash mitt during a dry or lightly wetted surface is how fine swirl marks develop over time. Getting the car thoroughly wet and loose first protects the paint during every step that follows.
Running a foam cannon over the full exterior after the rinse blankets every panel in thick, clinging soap that gets to work immediately. Letting that foam sit for two to three minutes gives the cleaning agents time to soften and lift what is left on the surface, which makes the actual washing stage gentler and noticeably more thorough.
The Two-Bucket Method and How It Protects Your Paint
The two-bucket method is the technique that separates people who get clean results from people who wonder why their paint looks worse after washing. One bucket holds your soapy water. The second holds clean, rinse water. After wiping down a section of the car with the wash mitt, you dip the mitt into the rinse bucket and agitate it against the grit guard to release the dirt it picked up before loading it back into the soapy water bucket.
That one extra step keeps contaminated water off your paint surface throughout the entire wash. Using long, straight strokes across each panel rather than circular scrubbing motions also helps keep any light marks that do occur aligned with the direction of natural light so they remain far less visible to the eye.
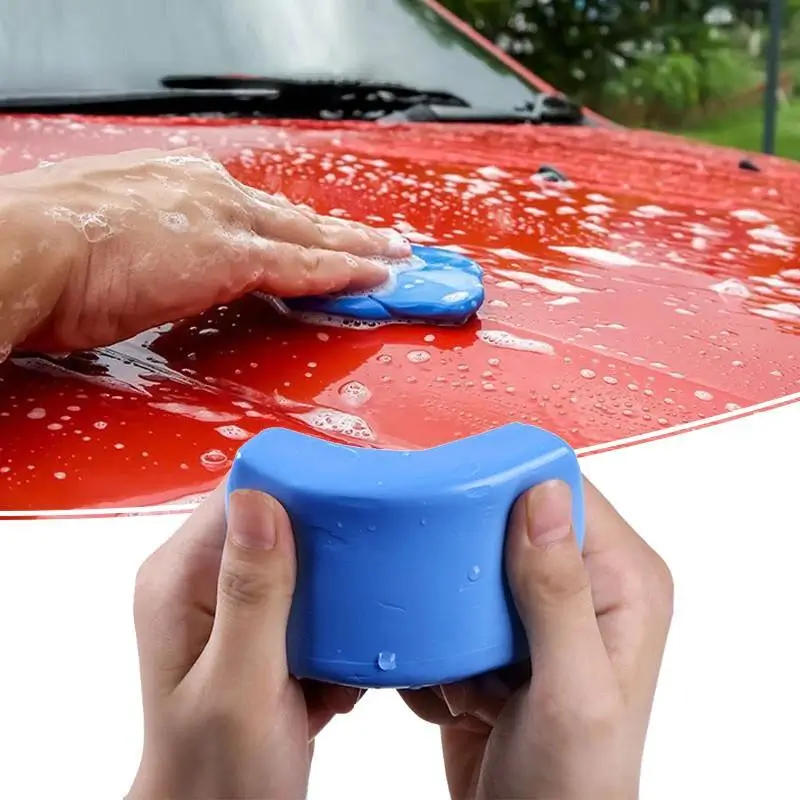
Using a Clay Bar to Unlock a Truly Smooth Surface
The clay bar is one of those tools that converts people the very first time they use them. After the car is washed and dried, running a clay bar with plenty of lubricant spray across each panel physically lifts embedded contaminants out of the paint, things like industrial dust, road tar, and airborne fallout that bond to clear coat and never wash away with soap alone.
The difference is immediately noticeable. Dragging the back of your hand across a freshly clayed panel compared to one that has not been treated is one of the more satisfying sensory experiences in the detailing process. Folding the clay bar regularly as you work keeps a fresh, clean surface in contact with the paint at all times and makes the treatment safe and effective throughout.
Polishing the Paint and Correcting the Surface
Polishing is what brings depth and gloss back into paint that has gone dull from light scratches, fine swirl patterns, or mild oxidation from sun exposure. A quality one-step polish applied with a foam pad by hand or with a dual-action polisher works across small sections at a time, using consistent overlapping passes to work the product into the surface before buffing it cleanly away with a fresh microfiber towel.
For paint that has accumulated deeper imperfections, a dedicated cutting compound used with a machine polisher can produce transformations that look almost unbelievable side by side with an untreated panel. Machine polishing rewards patience and a willingness to practice, and the results it delivers make that investment entirely worthwhile.
Choosing Between Wax, Sealant, and Ceramic Coating
The protection layer that goes on after polishing determines how long the finish stays looking its best and how well the surface handles what daily driving throws at it. Carnauba wax is the classic choice and produces a warm, rich gloss with a depth that enthusiasts find genuinely beautiful. Application is straightforward, and the process of applying it, letting it haze, and buffing it away is one of the more enjoyable parts of a full detail.
Paint sealants are a more durable synthetic option that bond well to the clear coat and maintain their protective qualities through months of washing and weather exposure. Ceramic coatings sit at the premium end of the at-home protection spectrum, forming a semi-permanent hydrophobic layer on the paint that makes water bead aggressively, makes washing significantly easier, and keeps the finish looking exceptional for considerably longer than conventional wax or sealant.
How to Detail Wheels, Tires, and Plastic Trim Properly
Freshly detailed paint paired with clean, dressed wheels creates a completely different visual impression than paint alone. A non-acid wheel cleaner applied to each wheel and agitated through the spokes and inner barrel with a quality wheel brush dissolves brake dust and road grime from every reachable surface efficiently and safely. A tire dressing applied afterward gives the rubber a rich, even finish and builds in UV protection that keeps the sidewalls from fading and cracking.
Plastic trim around the exterior, including door handles, mirror caps, and body moldings, responds well to a dedicated trim restorer that feeds pigment back into the material. Treated trim looks intentional and well-cared-for in a way that raw, faded plastic simply does not.
How to Restore and Refresh Your Car Interior Surfaces
A spotless exterior and a lived-in interior are a combination that undercuts the whole effort. Interior car detailing follows the same top-down principle as the exterior, beginning with the highest surfaces and working progressively toward the carpet and floor mats.
Vacuuming First So Every Cleaning Step After It Goes Smoothly
A thorough vacuum of every seat surface, floor mat, carpet section, and storage area creates the clean foundation that makes every liquid cleaning step more effective. Using a soft-bristle detailing brush to loosen dust from air vents, seat stitching, and the edges of controls before vacuuming picks up considerably more material than a vacuum pass alone. Compressed air into tight gaps around switches and buttons clears out debris that no nozzle shape can reach directly.
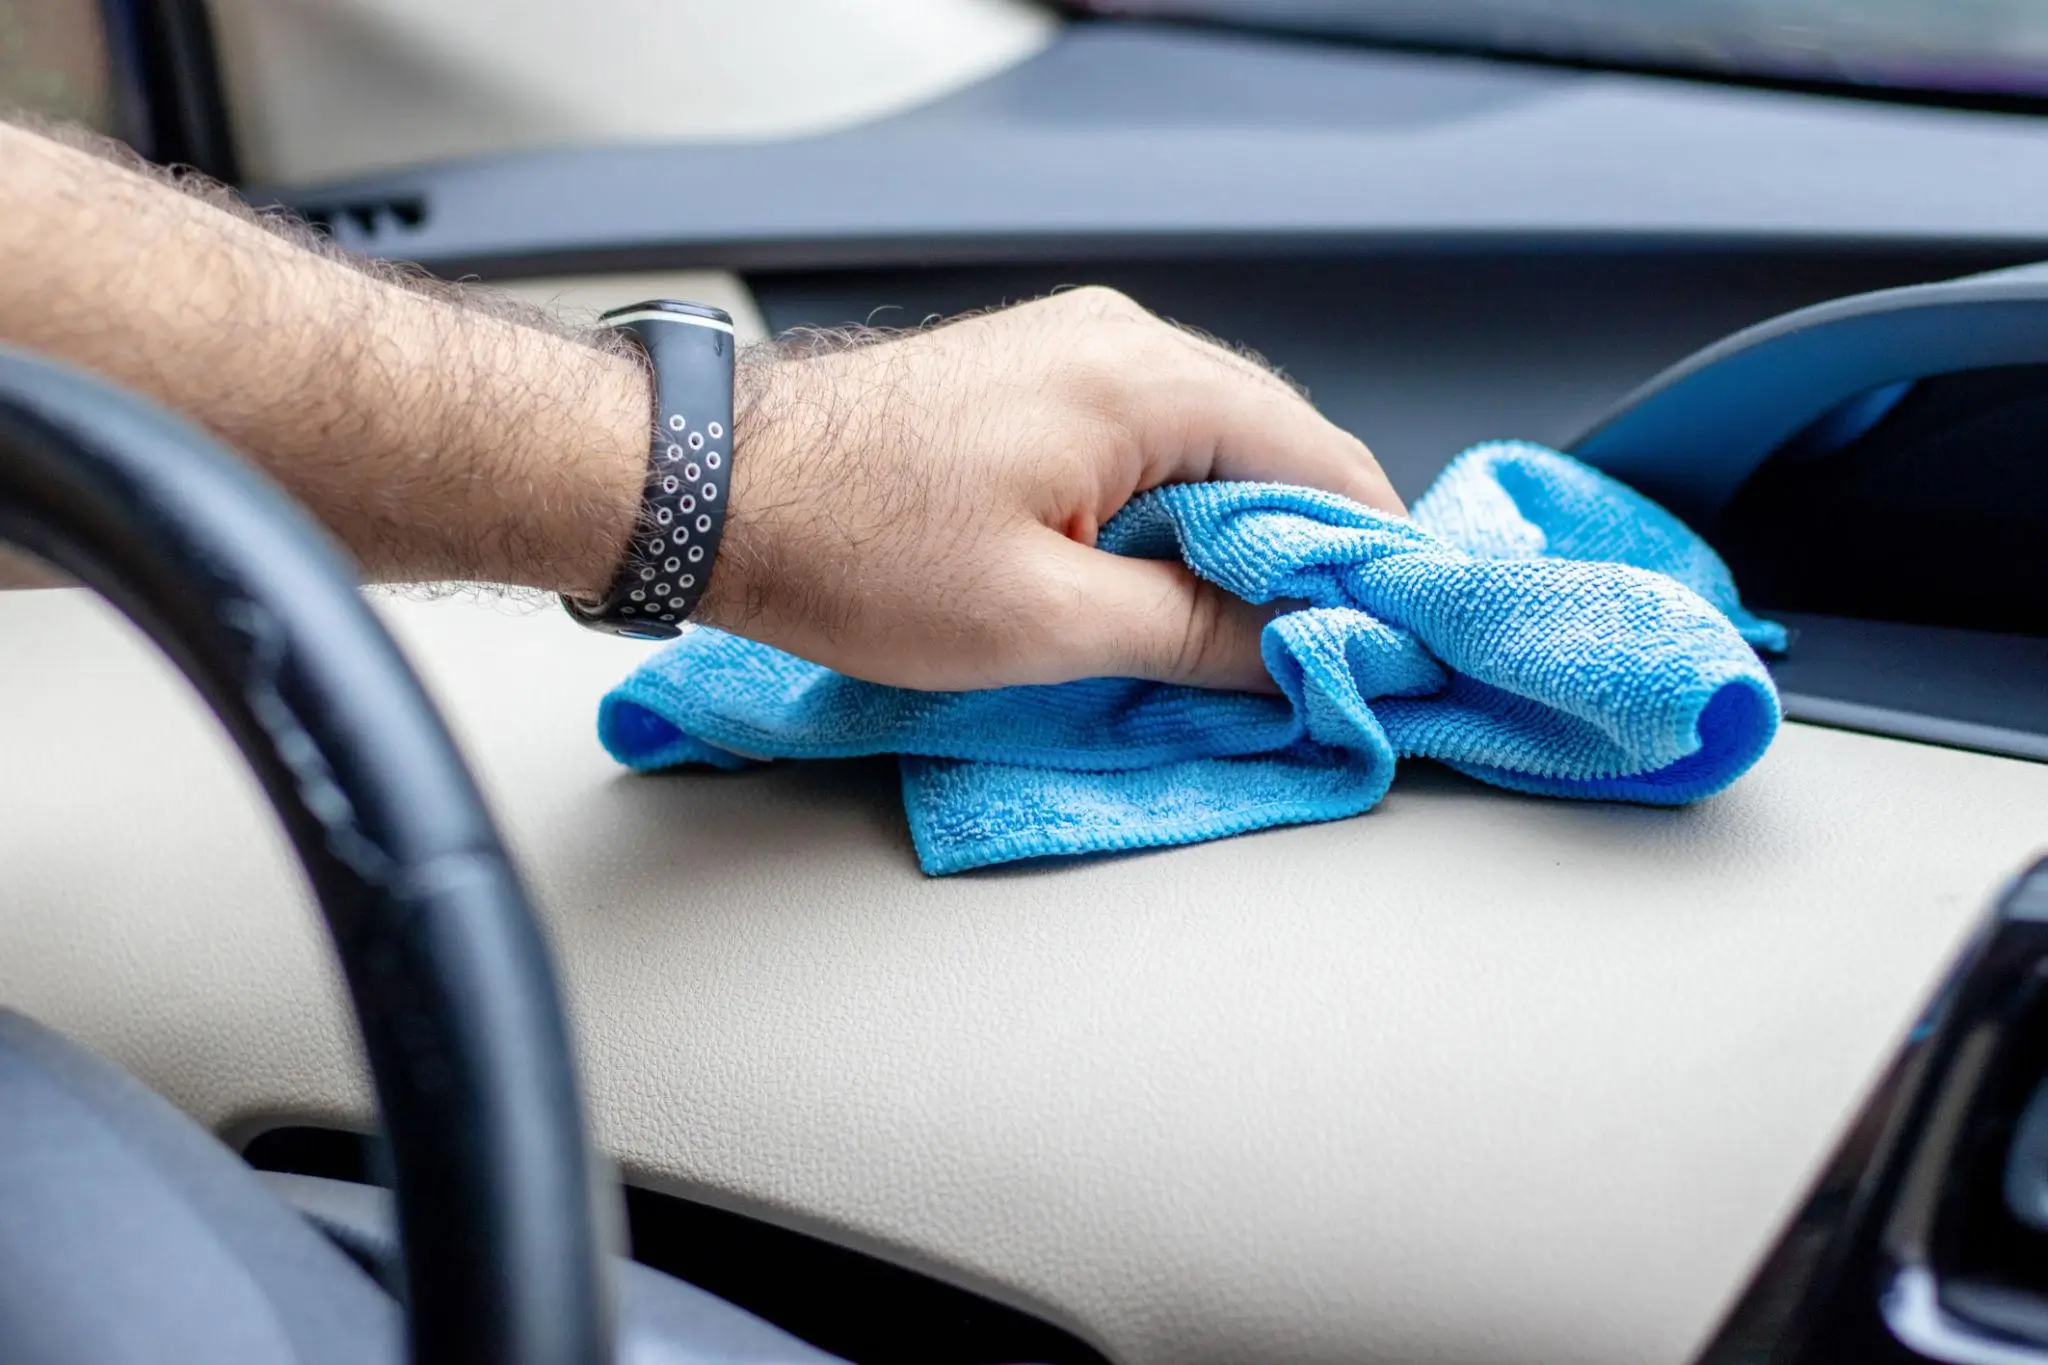
Cleaning the Dashboard, Door Panels, and Console Surfaces
An interior all-purpose cleaner applied with a microfiber cloth handles dashboards, door panel inserts, center consoles, storage pockets, and grab handles across most vehicle interiors very well. Wiping in consistent strokes and following with a dry buff produces a clean, natural-looking finish without any greasy or overly shiny residue. Leather surfaces deserve a dedicated leather cleaner and conditioner combo that cleans thoroughly while keeping the material soft and supple for the long term.
Refreshing the Seats and Upholstery
Fabric seats come up beautifully with a foaming upholstery cleaner worked in with a soft brush and blotted cleanly away with a dry towel. Any set-in spots respond well to a paste of baking soda and water dabbed onto the area, given a couple of minutes to dwell, and then gently lifted with a soft brush and a clean cloth. Leather seats respond best to a dedicated cleaner applied gently with a soft cloth and wiped away without any scrubbing that might compromise the surface.
Getting the Glass Crystal-Clear on Both Sides
Clean windows make a finished detail feel complete in a way that nothing else quite does. Spraying glass cleaner onto the cloth rather than directly onto the surface keeps the product where it belongs and prevents any overspray from landing on trim or electronics. Horizontal strokes on the inside and vertical strokes on the outside make it straightforward to identify exactly where any remaining haze or smears are located and address them precisely.
How to Extend the Life of Your At-Home Car Detail
A full detail performed twice a year, ideally aligned with the spring and fall seasonal transitions, keeps a vehicle in consistently strong condition year-round. Between those full sessions, a proper maintenance wash every two to three weeks prevents surface contamination from bonding deeply into the paint in ways that make future cleaning more intensive.
A quick detailer spray used between washes adds a light layer of protection and handles light dust, fingerprints, and minor smears in just a few minutes. Keeping a clean stack of microfiber towels and a bottle of quick detailer within easy reach in the garage turns between-session upkeep into a genuinely easy habit that keeps the vehicle looking great with minimal time invested.
Final Thoughts
Learning to detail your own vehicle properly is one of those skills that keeps rewarding you long after the first session. The results get cleaner and sharper as technique improves, the process becomes more intuitive every time you work through it, and the vehicle genuinely stays in better shape as a direct result of the care going into it. Every detail session is an investment in the condition, the appearance, and the longevity of something you use and rely on every day, and that makes every minute of it worth it.